Scrappy Jelly Roll Strip Tutorial

I live in a cute little split level home that was built in the 70’s. My sewing “studio” is in the basement with the playroom/game room/office/TV room/library- basically the living room (where all the fun happens). My fabric storage consisted of rubbermaid containers to protect my fabric from dust, humidity, possible critters, and wood burning fireplace smoke. It was functional and practical, but I didn’t love it. I couldn’t see the fabric yardage that I had, so I bought more- a vicious cycle that made my fabric stash grow (yay) and my money disappear (boo). As for my scraps, they were tossed in a smaller rubbermaid containers that slid under my desk drawers. I never accessed it, because it wasn’t organized and to be honest it was quite overwhelming. I needed a complete storage overhaul!

First things first: storing yardage. My goal was to display my fabric that so that I could refer to it for future quilts and also…because… it’s, like, ssoooo pretty! I needed a storage system that could show off my fabric while keeping it sealed away from dust, humidity, pests, and all the bad things (including, but not limited to sticky fingers and faces). I also needed something that was inexpensive and durable. Enter Facebook Marketplace.
I found a mid-century mod china hutch that was made of real wood (none of the crumbly MDF stuff) that was affordable and sent Mr. Cobabe to fetch it while I prepared the space. After researching some ways of storing the fabric, I decided that folding the yardage in thirds (directly from how it comes off the bolt) and wrapping it around a comic book board and securing it with alligator clips would work best for my situation. I had just enough shelf space to store the cotton prints upright around the comic book boards- like tidy little books on a bookshelf- behind the glass door of the china hutch. The precuts, fat quarters, bolts of fabric, and sheet sets (that I use for backing) were placed in the cabinets underneath. I stored my solid color yardage in a standing wardrobe storage next to the china hutch. It was all coming together! I even found these amazing clear plastic zipper pouches for my WIPs that I place in bins above my solid yardage storage wardrobe.
“A place for everything, and everything in its place.” It felt good. Rrreaaalllllyyyy good! (if you read that like Nacho Libre, let’s be friends) “Everything” MINUS the scraps! Time to harness the chaos. To start, I made sure my scraps were divided by color. I took out each of the colors and spread them on my cutting table. From there, I sorted the sizes. I had to trim some of the bigger scraps to meet my goal of being able to make workable pre-cuts for myself:
2 .5” squares (mini-charm pack size)
2.5” strips (jelly roll size)
1.5” strips (for strip quilts)
10” squares (layer cake size)
5.5” squares
5” squares (charm pack size)
3.5” squares
By the time I had cut and sorted everything, there were just itty bitty pieces that were smaller than a seam allowance. At that point, I just tossed the remnants in the garbage. I organized the scraps by size and color and put them in these fabulous space saving clear plastic zipper pouches. The pouches were placed in the rubbermaid containers under my desk. Doing this reduced the overall bulk of scraps, making them easier to store; made them more accessible, reducing the mental burden that the chaos was causing; and make it easier for me to whip up a fun “palette cleansing” project in between quilts.
If you want to get started but don’t know where to begin, just color coordinate your scraps. If you’re having a hard time figuring out what color group a scrap belongs to, try to identify the most prominent hue: the color that appears the most frequently in the print regardless of the value. Try to avoid stripes, and polka dots or prints that have lots of whites. Those types of fabrics work great for “low volume” background fabrics and can go in their own category/pile.
If you’re feeling like you have too many scraps to go through to be able to even store them into manageable sizes, I have just the project for you: scrappy jelly roll strips! Whittle down your scrap stash by making your own jelly roll strip with your favorite scraps. These are the supplies that you’ll need:
thread snips/scissors
sewing machine
spray water bottle
fabric cutting ruler
rotary cutter
fabric scraps


Step 1: Setting up
Before you start to make your customized jelly roll, we need to make sure that you are set up for success! Similar to foundation paper piecing, you will be sewing directly onto paper: receipt roll tape paper. To make the process of tearing off the paper easier, decrease the stitch length on your sewing machine. You may need to refer to your sewing machine manual to figure out how to do this. It can be found digitally online if you know the make/model of your machine, or you can find a tutorial on youtube.
Choose one color from your scrap pile to start with. Let’s make a jelly roll!
Step 2: Sewing Scraps
Unravel your receipt roll until it is about a foot long- or comfortable enough to work with. Take two fabric scraps, right sides together, and place them on top of the receipt paper. Using a quarter inch seam allowance sew the scraps together on the receipt roll, stopping at the edge of the receipt paper. Finger press the seam that you have just sewn.


Make sure that the scraps cover the width of the receipt tape- it’s okay if it’s bigger. If you have a fabric scrap that you love but is too small for the receipt tape, sew it to another scrap to ensure it covers the width. If you have a scrap that is not a rectangle or a square, use it! It may take a bit of finagling, but you can make it work. Experiment! It helps to have the structure of the receipt paper as a base. Congrats- you’re improv quilting! The “lack of specific intention” is what makes your jelly roll strip modern, unique, and spontaneous.


Step 3: Rollin’ rollin’ rollin’ on the rrrr…receipt paper
Continue to sew scraps to your receipt roll paper. Make the strip however long you’d like. Use up all those scraps! The more you use now, the less you’ll have to cut later! If you need to stop or you run out of scraps, just cut the paper close to your last seam. If you need to make a longer jelly roll strip, you can start afresh on another receipt paper by sewing the last scrap from your previous strip to a new scrap on top of the paper (see step 2).
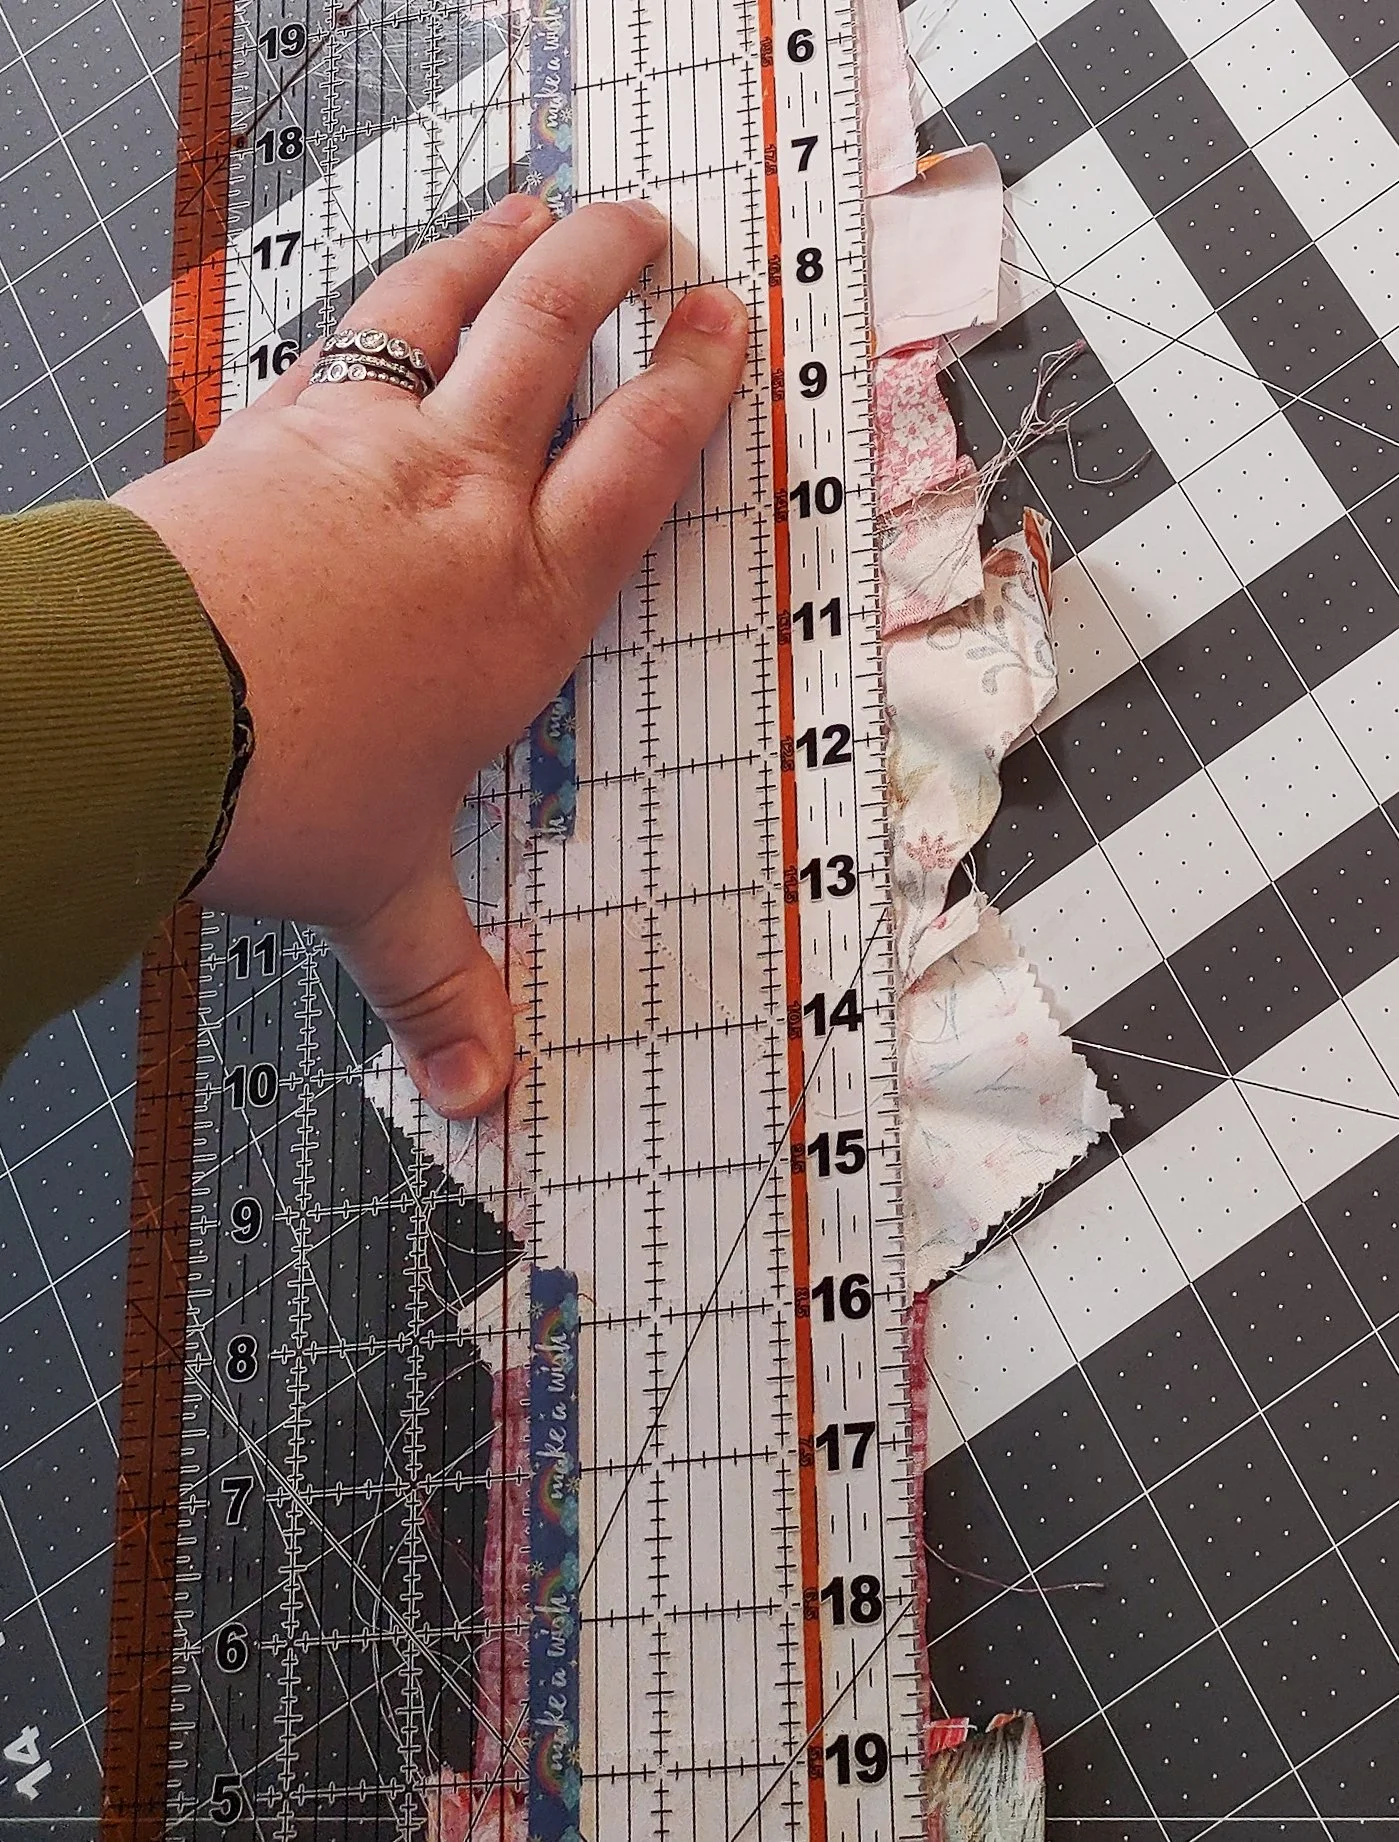
Step 4: Trimming the Jelly Roll Width
The receipt paper is 3 1/8” wide. Jelly roll strips are 2 1/2” wide. Once you are done sewing your scraps to your receipt paper, lay it flat and line one edge of the paper with your fabric cutting ruler. Using a rotary blade, trim the fabric so that it is flush with the edge of the paper. Mark on the receipt paper 2 1/2” from the your recently trimmed edge. Line up your fabric cutting ruler with the 2 1/2” line you just marked (opposite side from the original trim) and cut (paper and fabric) to create your very own jelly roll strip.


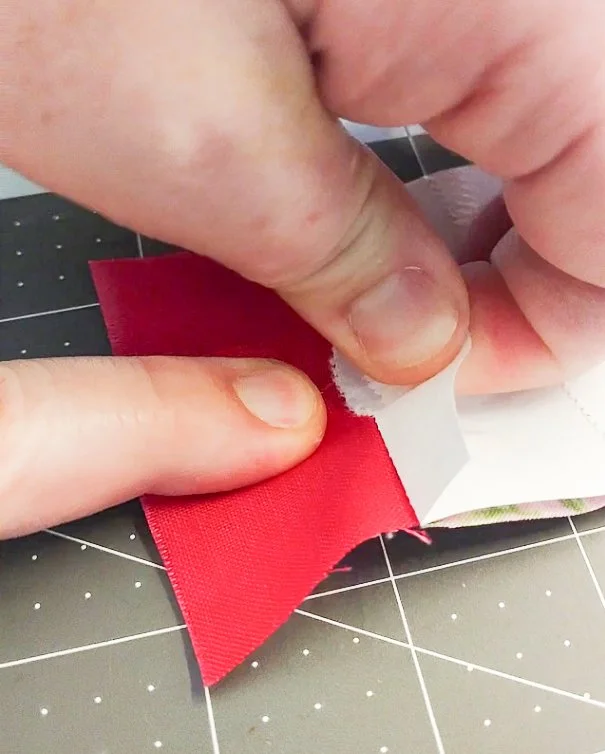
Step 5: Removing the Receipt Paper Backing
Time to remove the receipt paper backing. This part can be a bit challenging, but I have some tips! Remember when you shortened your stitch length? Well, it’s paying off! Since there are more perforations in the paper, it makes it easier for the paper to rip right off. I recommend folding the paper at the seam- pressing over it with your fingernail or a sharp edge (an old credit card or the blunt edge of scissors work too) to weaken the paper- and then working from the middle of the seam to rip the paper out. At this point it should all come out easily, leaving little to no paper bits. If you are still having a tough time of it, I recommend misting the seam with water, softening the paper and making it come out a little easier without stressing your seam or tearing out any threads.


Step 6: Pressing your Jelly Roll Strip
Press your jelly roll strip. Make sure the seams are set. Use starch.

Step 7: Sewing a “Victory Lap”
To fortify the edges of your seams on your jelly roll, do a “victory lap.” A victory lap is a straight stitch with your sewing machine 1/8” away from the edge that helps to keep all the seams in place.
Step 8: Let me see you Jelly Roll!
Yay! You just made a jelly roll strip! At this point you can use your jelly roll strip in any pattern a jelly roll is called for! If you don’t have an immediate plan for it, check out my Hibernia quilt pattern. If you want to store the roll for later, just roll it up like the sweet treat that it is, and put a pin in it. I’m excited to see what you make with it! If you’re on Instagram, tag me @cobabeco and use #letmeseeyoujellyroll or #scrappyjellyroll
Now that you have a basic idea of how to create a scrappy jelly roll in one color, how will you take it to the next level? Will you mix it up and make your own color palette in a single jelly roll. Maybe you want to make a jelly roll rainbow strip? Or maybe you want to make a border for a quilt but only use scraps that are the colors of the quilt! The possibilities are endless!


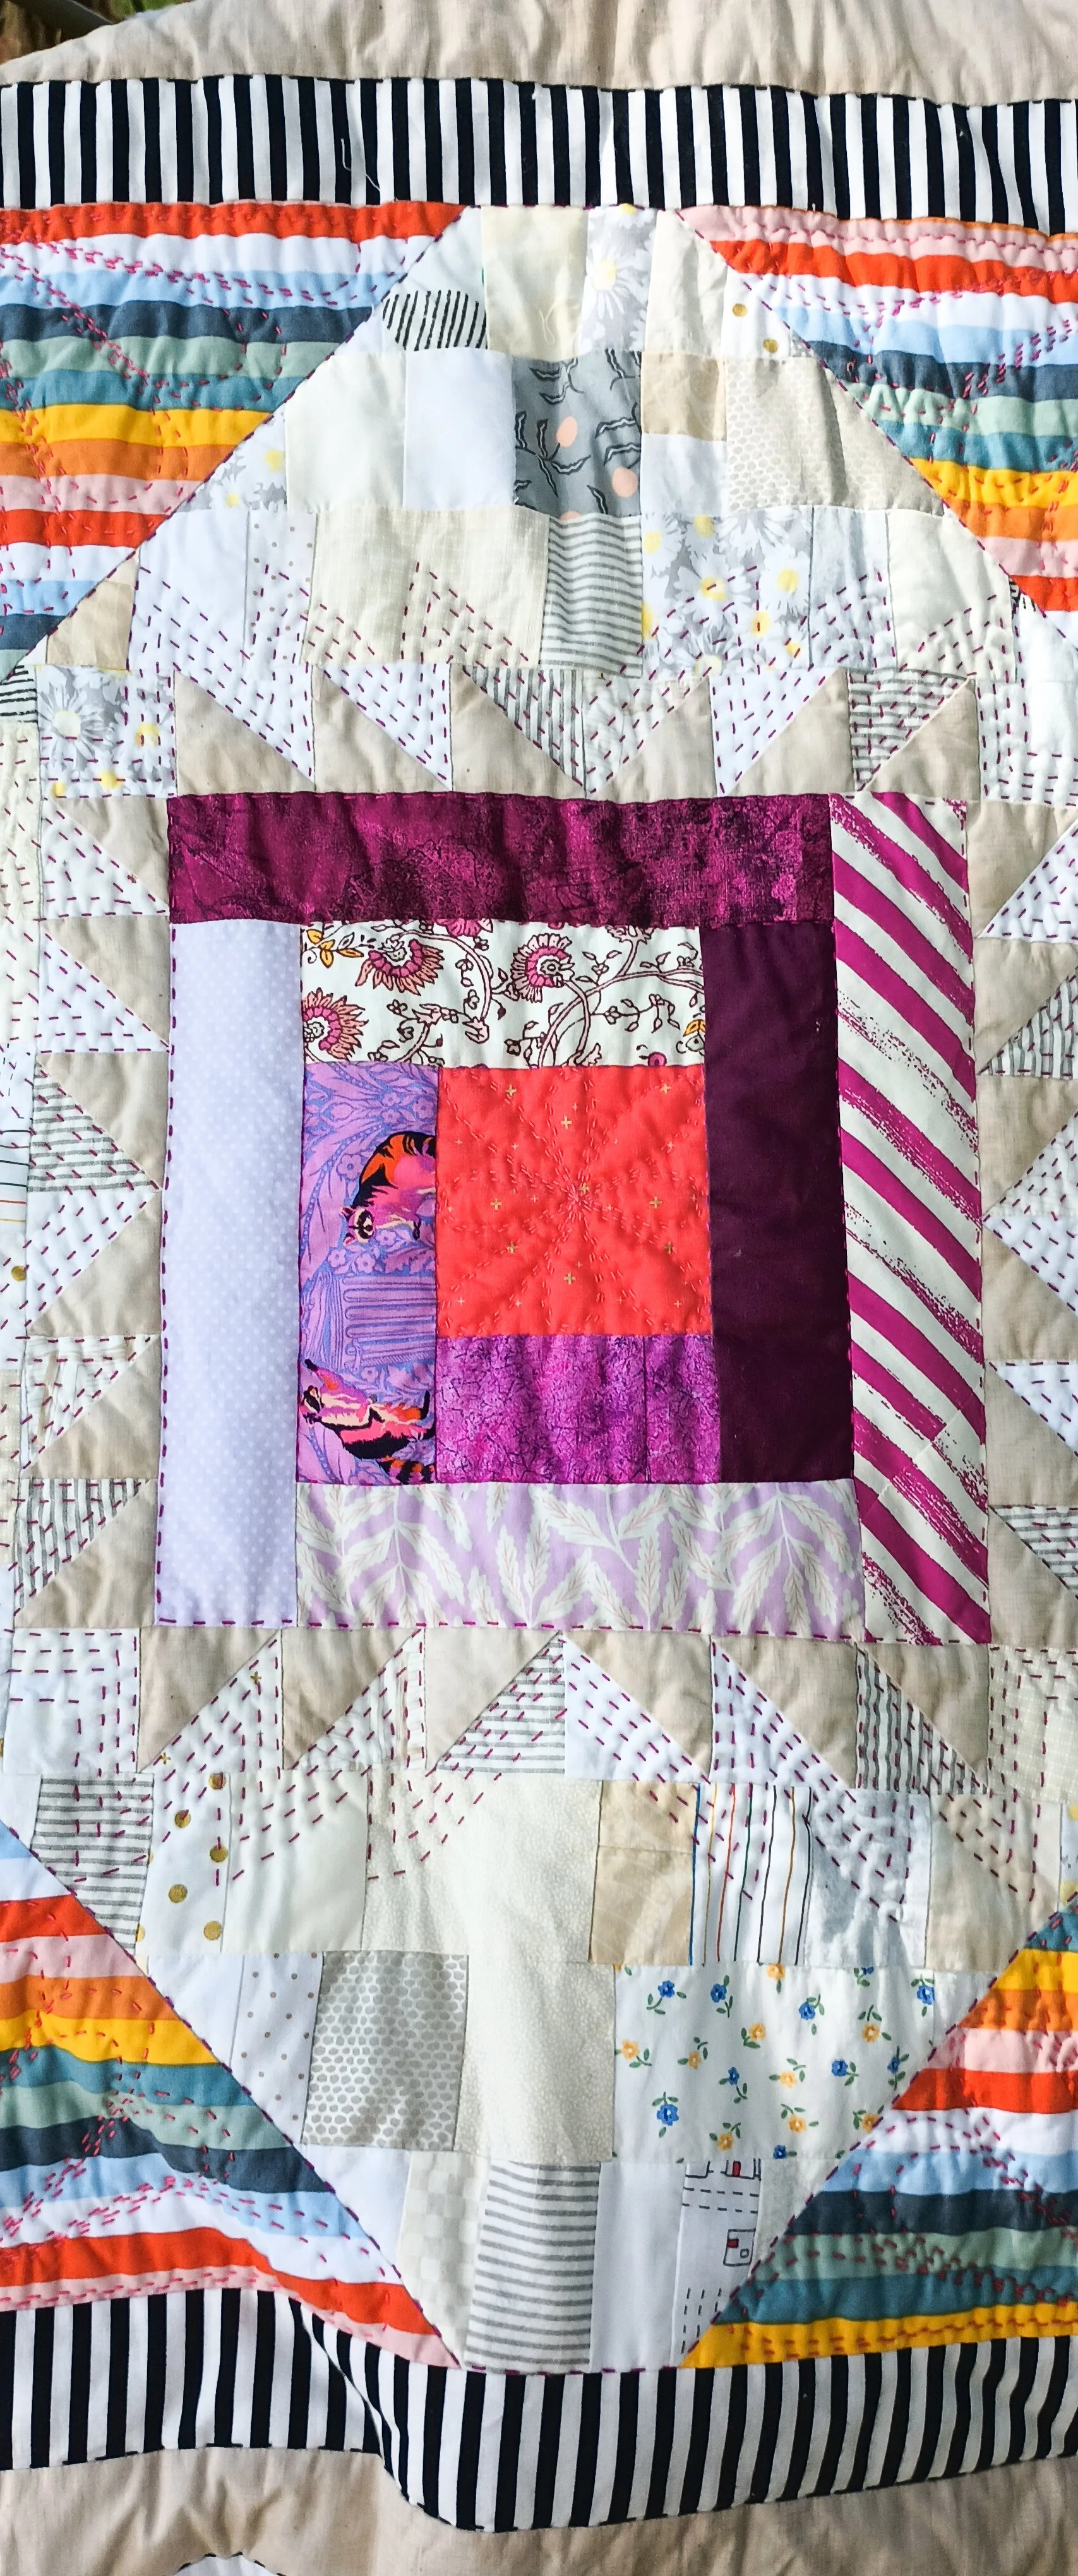
PS- look what I made with my scrappy jelly roll strips! I just had to show off what I made (I made those cute kids too, ha!) Check out this blog post for more info on the Hibernia quilt pattern, and check it out in my shop.